

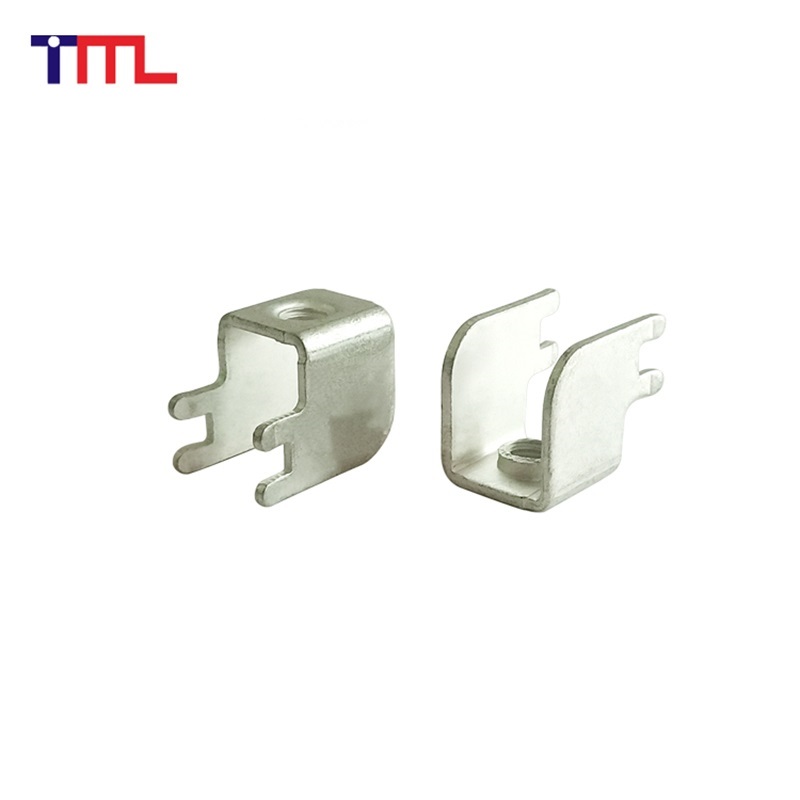
What Are Terminal Pins?
Terminal pins are small metal connectors attached to the ends of electrical wires. They allow wires to be connected to components, connectors, or terminals. Terminal pins come in various types:
-
Male and female pins
-
Crimp-style pins
-
Solder pins
-
Quick-disconnect pins
Crimped connections are often preferred over soldered ones for reliability, vibration resistance, and ease of maintenance.
Why Proper Crimping Matters
A good crimp is critical for both electrical performance and safety. Poor crimping can cause:
-
High resistance connections
-
Overheating
-
Electrical failure
-
Wire pull-out
-
Intermittent signals
Using the correct tools and technique ensures a secure connection that can handle current loads without failure.
Tools You’ll Need
To crimp terminal pins effectively, you will need:
-
Crimping Tool
-
Designed for terminal pins; some have color-coded dies for different wire gauges.
-
-
Wire Stripper
-
Strips insulation without damaging the conductor.
-
-
Terminal Pins
-
Choose the correct size and type for your wire and connector.
-
-
Optional: Magnifying Glass or Inspection Tool
-
Ensures the crimp is clean and fully compressed.
-
Step-by-Step: How to Crimp Terminal Pins
Step 1: Select the Correct Terminal Pin
Choose a terminal pin that matches:
-
The wire gauge
-
The connector housing
-
The application type (signal, power, automotive, etc.)
Step 2: Strip the Wire
Using a wire stripper:
-
Measure about 3–5 mm of insulation to remove.
-
Avoid nicking or cutting the copper strands.
-
The exposed wire should match the pin barrel size.
Step 3: Insert the Wire Into the Terminal Pin
-
Insert the stripped wire fully into the barrel of the terminal pin.
-
Make sure all strands are inside the barrel; none should be outside.
Step 4: Position the Pin in the Crimping Tool
-
Place the pin in the correct die or slot of the crimping tool.
-
Align the barrel with the tool so that the crimp will compress evenly.
-
Some crimpers have markings for insulated and non-insulated terminals.
Step 5: Perform the Crimp
-
Squeeze the crimping tool firmly until it closes completely.
-
Do not release early; an incomplete crimp can lead to a weak connection.
-
Inspect the crimp to ensure it is tight and uniform.
Step 6: Test the Crimp
-
Gently tug the wire to confirm it is secure.
-
The wire should not pull out.
-
If the crimp is loose, cut the wire and repeat the process with a new terminal pin.
Tips for a Professional Crimp
-
Use the Right Wire Gauge
Terminal pins and connectors are designed for specific wire sizes. Using the wrong size can cause poor electrical contact or wire damage. -
Avoid Over-Crimping
Too much pressure can damage the terminal pin or cut the wire strands. -
Use Quality Tools
Cheap crimpers may not compress the pin evenly, leading to unreliable connections. -
Check the Crimp Shape
A proper crimp should have a smooth, even indentation with no gaps or loose strands. -
Practice on Scrap Wires
Before working on a critical system, practice crimping to build confidence and consistency.
Types of Crimp Terminal Pins
Understanding pin types helps you select the right one for your project:
-
Butt Connectors: Connect two wires end-to-end
-
Ring Terminals: Connect to screws or studs
-
Spade Terminals: Easy to attach to screw terminals
-
Male/Female Pins: Plug into connector housings
-
Insulated vs Non-Insulated: Insulation helps protect against shorts
Each type has a specific crimping technique but follows the same general principles outlined above.
Applications of Crimped Terminal Pins
Crimped terminal pins are widely used in:
-
Automotive Wiring: Cars, motorcycles, and trucks
-
Electronics: Arduino, Raspberry Pi, sensors, and custom PCBs
-
Industrial Equipment: Control panels and machinery wiring
-
Home Projects: DIY electrical setups and appliances
Proper crimping ensures reliability in vibration-heavy or high-current environments.
Common Mistakes to Avoid
-
Using the wrong size pin or crimper
-
Stripping too much or too little insulation
-
Not inserting the wire fully into the barrel
-
Reusing damaged pins
-
Ignoring the pull-test after crimping
Avoiding these mistakes will prevent electrical failures and reduce troubleshooting time.
Conclusion
Learning how to crimp terminal pins properly is a valuable skill for anyone working with wiring or electronics. Using the correct terminal pin, stripping the wire carefully, and applying proper crimping technique ensures a secure, durable, and safe connection. With practice, crimping becomes a quick and reliable way to achieve professional-quality electrical connections.
Whether you’re working on automotive wiring, industrial control systems, or DIY electronics, mastering crimping improves performance, safety, and confidence in your work.